Creating a docker container for our Nextjs app
I generally prefer to do all development in a Docker container. So, when it came time to work with Nextjs, I was looking for a way to dockerize my Nextjs app. Most of the Nextjs tutorials generally have you install node, etc. on your local machine; some of these come with a pre-created package-lock.json. These solutions all work, but I like to start from scratch, at least initially, so I can understand what is going on.
Here are the high level steps we will be following:
- Create a
devDockerfile. This will allow for features like hot reload, updating Tailwind classes, etc. while developing - Build our container
- Run container and create a Nextjs app
- Run app and view our site
Create dev Dockerfile
Let's start with a basic Dockerfile that will create a container with nodejs (18). I'm going to skip going over the Docker commands/file for now. It's a broad enough topic that it deserves its own post.
FROM public.ecr.aws/docker/library/node:18-alpine AS base
RUN apk update && apk upgrade && apk add --no-cache bash
RUN apk add --no-cache libc6-compat
WORKDIR /source
Build Container
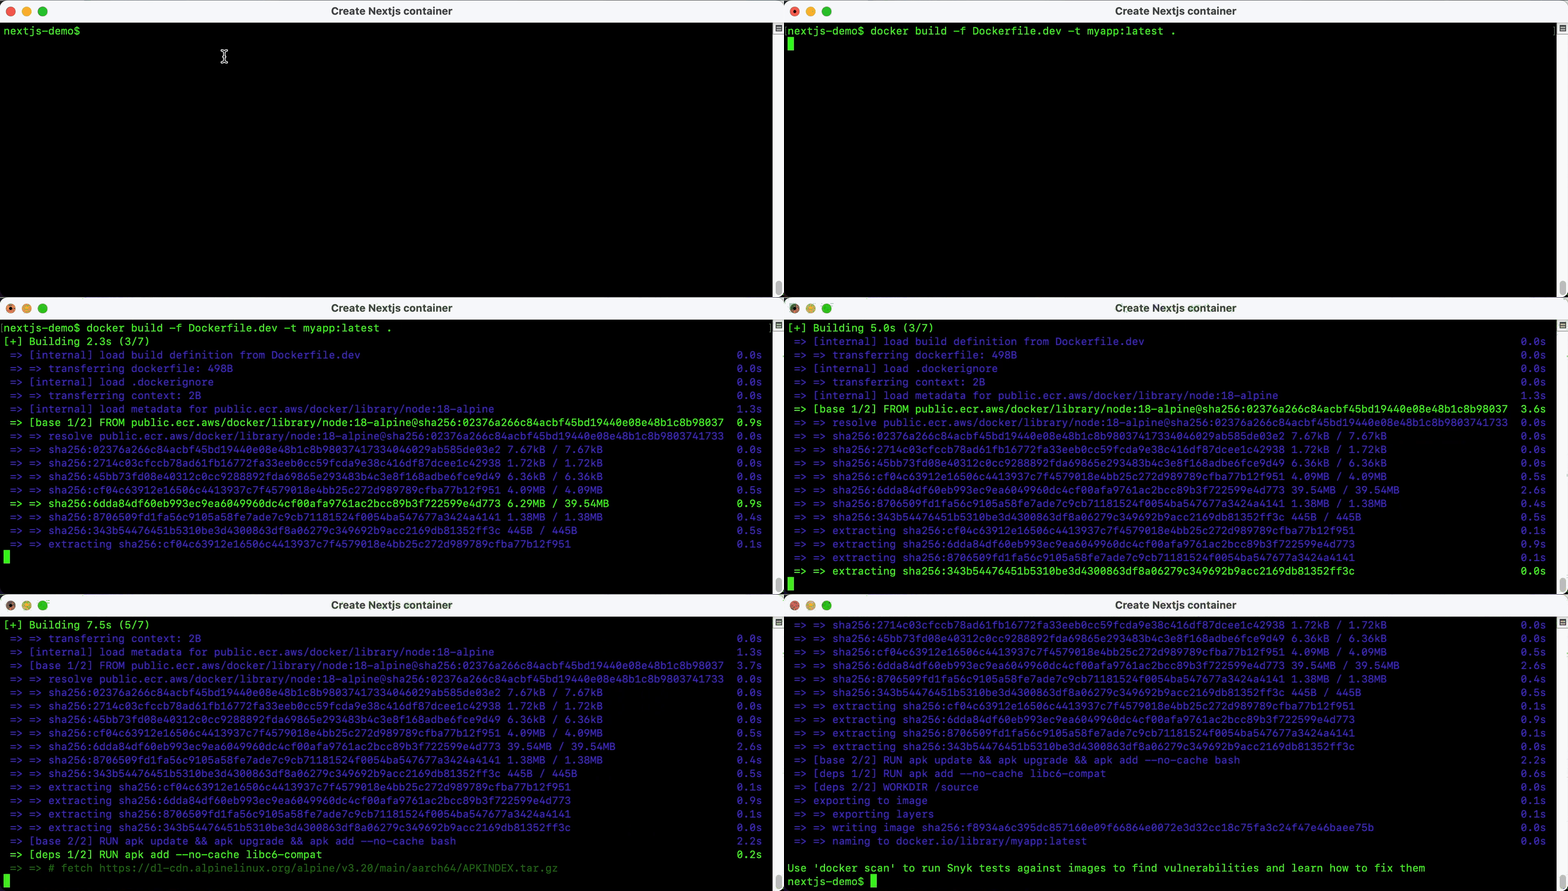
Once you have created this file, run the following commanddocker build -f Dockerfile.dev -t myapp:latest .

Run container and create app
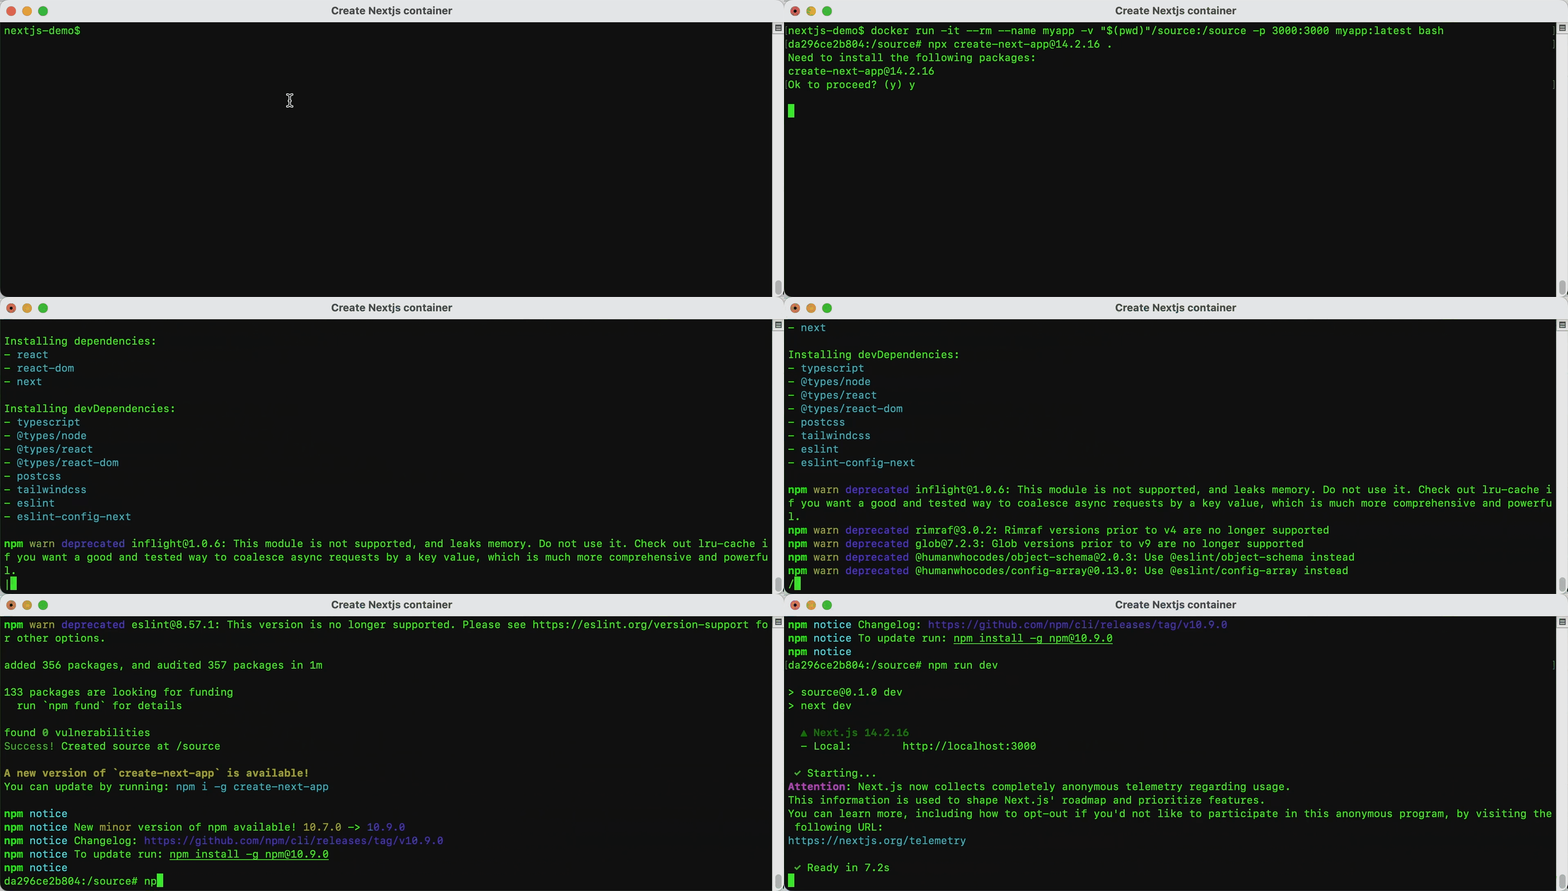
Let's run our newly created container. Type the following:docker run -it --rm --name myapp -v "$(pwd)"/source:/source -p 3000:3000 myapp:latest bash
Once inside the container, type the following:npx create-next-app@14.2.16 .
Follow the prompts, using the default values

Launch app and view site
Type the following command: npm run dev
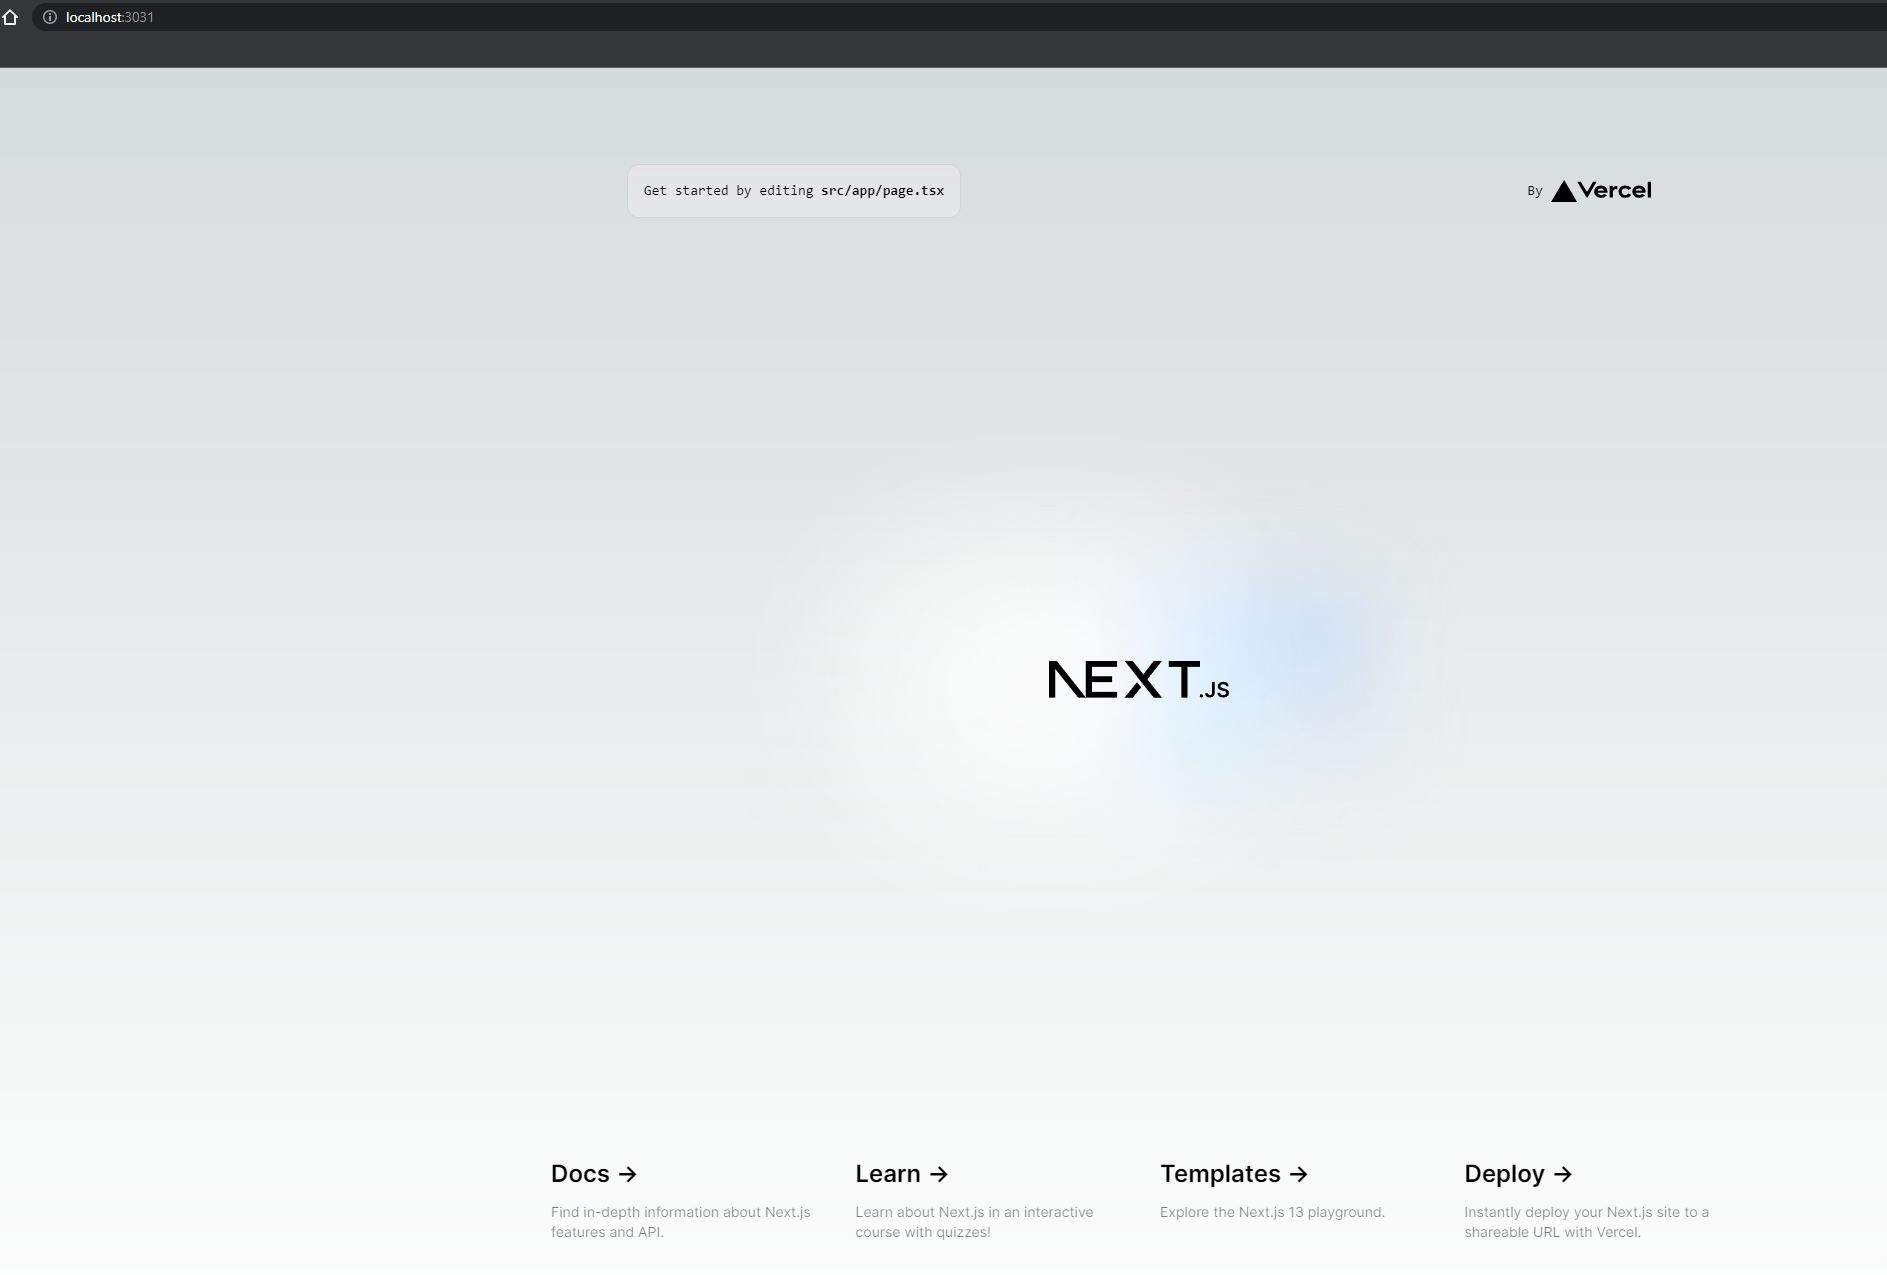
Open a browser and go to http://localhost:3000 and you should see the following:

Congratulations!! You have successfully created a docker container for your Nextjs app 🎉🥳
- Update the content as you desire. Since it's a dev container and we mapped to a local drive, we will see the changes instantly (hot reload) without having to rebuild our container.
- Once you are satisfied with the content, proceed to the next step.
Build a production container
Now that our container is working and we have added our content, let's get it ready for production. Let's create a new file called Dockerfile
# FROM node:18 as base
FROM public.ecr.aws/docker/library/node:18-alpine AS base
# Install dependencies only when needed
FROM base AS deps
RUN apk add --update --no-cache \
libc6-compat \
python3 \
make \
g++ \
cmake
WORKDIR /app
# Install dependencies
COPY source/package.json source/package-lock.json* ./
RUN npm ci
# Rebuild the source code only when needed
FROM base AS builder
WORKDIR /app
COPY /app/node_modules ./node_modules
COPY source .
# Next.js collects completely anonymous telemetry data about general usage.
# Learn more here: https://nextjs.org/telemetry
# Disable telemetry during the build.
ENV NEXT_TELEMETRY_DISABLED=1
ENV NODE_ENV=production
RUN npm run build
# Production image, copy all the files and run next
FROM base AS runner
WORKDIR /app
# Disable telemetry during runtime.
ENV NEXT_TELEMETRY_DISABLED=1
# As a best practice, we don't run our app as root user
RUN addgroup --system --gid 1001 nodejs
RUN adduser --system --uid 1001 nextjs
COPY /app/public ./public
# Automatically leverage output traces to reduce image size
# https://nextjs.org/docs/advanced-features/output-file-tracing
COPY /app/.next/standalone ./
COPY /app/.next/static ./.next/static
USER nextjs
EXPOSE 3000
ENV PORT=3000
ENV HOSTNAME=0.0.0.0
CMD ["node", "server.js"]We now have a container ready for deployment! 🎉🥳
To use our container, we simply have to run:
# Build the container
docker build -t myapp:latest .

# Run the container
docker run --rm --name myapp -p 3000:3000 myapp:latest